Have you ever walked outside your home and noticed bubbling or blistering paint on your walls? It’s frustrating, and you’re not alone!
Many homeowners in Mt. Lebanon, PA, face the same issue, especially during humid or rainy seasons. Paint blisters are more than just an eyesore – they can lead to peeling and even long-term damage if ignored. But what causes paint to blister?
Several factors can lead to this common problem, and understanding them will help you avoid future headaches. This blog will cover the common causes of paint blistering, why it happens, and how to fix it – all while touching on how exterior house painting services can help you keep your home looking fresh and protected.
Key Takeaways:
- This blog explains what causes paint to blister and offers practical solutions to prevent it.
- Trapped moisture, poor-quality paint, and improper surface preparation are common causes of blistering.
- Following proper painting techniques and addressing root causes can prevent future bubbling and peeling.
What Causes Paint to Blister and Bubble?
Noticing paint blisters or bubbles on your walls or exterior can be frustrating, and it’s a common issue for many homeowners. These unsightly marks not only affect your home’s appearance but can also be a sign of deeper problems if left unchecked. Understanding what causes paint to blister can help you prevent future damage and keep your home looking great.
These are some common causes of paint blistering and bubbling:
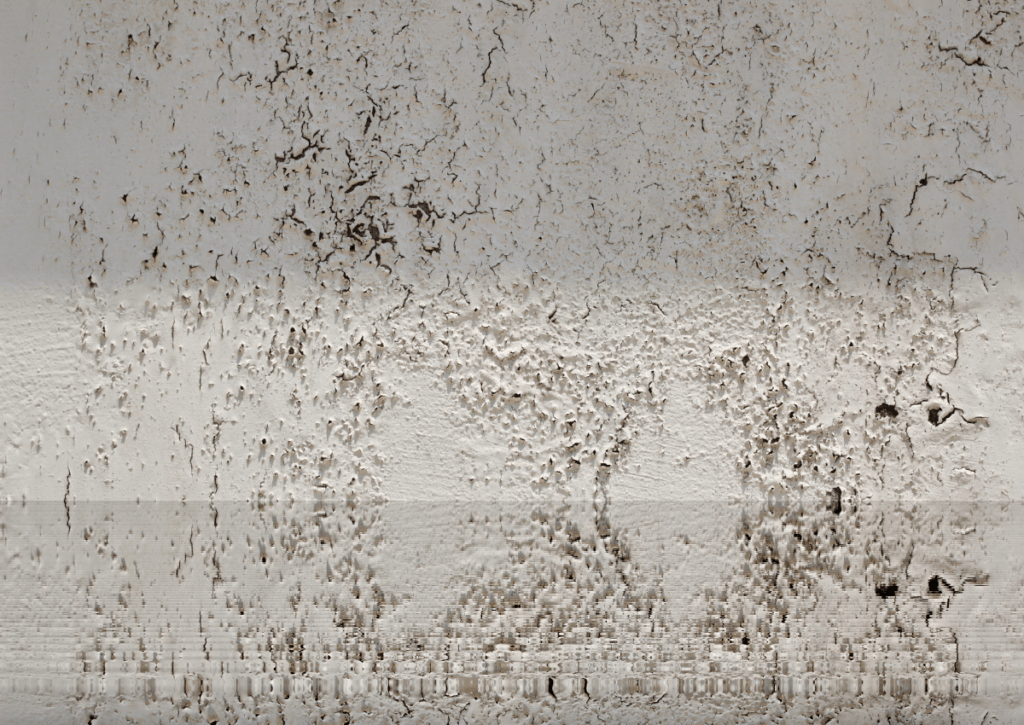
Moisture Trapped Beneath the Paint
The biggest culprit behind paint blistering is moisture. When water or humidity gets trapped beneath the paint layer, it tries to escape by pushing outward, causing the paint to bubble. This often happens when surfaces are painted before they are completely dry, especially after rain, or during periods of high humidity. It’s essential to let surfaces dry thoroughly before applying paint to avoid trapping moisture. A quick fix might solve the problem temporarily, but moisture will always find its way out if it’s not addressed properly.
Leaky Roofs or Plumbing Issues
Another common cause of paint blistering is hidden leaks. Whether from your roof, windows, or even plumbing, moisture can seep into walls and eventually push the paint off the surface. If you see bubbling paint near the ceiling or around windows, it’s worth checking for leaks. Fixing the source of the problem, whether it’s a leaky roof or a dripping pipe, is crucial before tackling the paint job.
Poor-Quality Paint
Not all paints are created equal, and using a low-quality product is a fast track to paint blistering. Cheap paints tend to have weak binding agents, which means they don’t adhere well to the surface. As a result, the paint can start to form bubbles and blisters soon after it dries. For long-lasting results, always invest in high-quality paints that are made to withstand the specific weather conditions of your area.
Heat and Direct Sunlight
Knowing the best temperature to paint outside also helps prevent paint blisters. Painting in high temperatures or direct sunlight can also cause paint to blister. Heat causes the paint to dry too quickly, and as it does, the solvents evaporate unevenly, leading to trapped air bubbles. If you’ve ever painted during a hot summer afternoon and noticed bubbling afterward, this is likely why. While summer is an ideal time to paint due to the generally dry weather, it’s best to do it during the cooler parts of the day, like early morning or late afternoon.
Incompatible Paint Types
Mixing incompatible paint is another common cause of paint blistering. For example, applying water-based latex paint over oil-based paint without priming the surface first will cause bonding issues, leading to bubbles. Priming is always required when switching between paint types to create a strong bond between the layers.
Over-Thinning the Paint
While thinning paint can help with smooth application, overdoing it weakens its ability to adhere to the surface, leading to blisters. When the paint is too thin, it loses its binding strength, which results in air bubbles getting trapped underneath the paint film.
How We Fix Blistering Paint
At Four Pillars Paint, we follow a detailed and thorough process to ensure that the issue is fully resolved and won’t return anytime soon. Here’s how we do it:
Step 1: Remove the Blistered Paint
We begin by scraping off the damaged paint using professional tools like putty knives and scrapers. This is not just a quick pass; we make sure every bubble and blister is removed, no matter how small. If the blisters are widespread, we may even remove the paint from an entire section of the wall to ensure there are no underlying issues left.
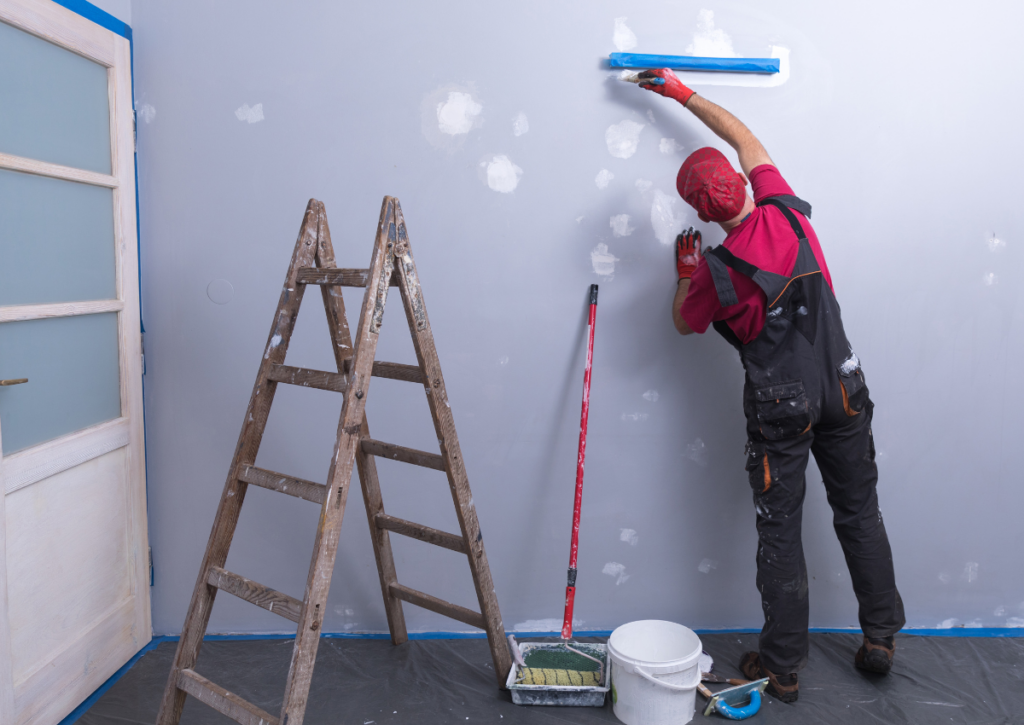
Step 2: Thorough Surface Preparation
Once the bubbling paint is gone, we sand the surface smooth, making sure there are no rough patches or imperfections. This exterior house painting prep is critical because even the slightest bump can cause future paint problems. After sanding, we clean the area thoroughly with a damp cloth to remove any dust, debris, or residue that could interfere with adhesion.
Step 3: Address the Root Cause
We don’t just fix the surface problem. If the paint blistering is caused by moisture or a leaky roof, we’ll help you identify and fix the underlying issue. There’s no point in repainting if the moisture problem isn’t resolved—it will only lead to more bubbling down the line. Whether you need a roofer, plumber, or handyman, we’ll guide you to make sure the issue is fixed before the painting begins.
Step 4: Prime the Surface
Before we apply new paint, we always use a high-quality primer. Priming creates a stable base for the paint and ensures that the paint adheres properly to the surface. If necessary, we’ll also use spackle to fill any low areas where blisters left gaps. After the spackle dries, we sand it smooth and prime again.
Step 5: Repaint with Precision
Finally, we apply a fresh coat of paint using the best tools and techniques. Our team uses thin, even layers to prevent air from getting trapped under the paint, reducing the chance of future blisters. If needed, we’ll paint the entire wall corner-to-corner to ensure a seamless, uniform finish. We take pride in delivering flawless results that will last.
How to Prevent Paint Blisters in the Future
What causes paint to blister? You’ve learned what causes paint to blister, but prevention is just as important as the fix. Here’s how to avoid the issue from happening again:
- Prepare the Surface Properly: Clean and dry surfaces are key to preventing moisture from getting trapped under the paint. Always ensure that walls are free of dust, grime, and moisture before applying paint.
- Use High-Quality Paint: Cheap paint may seem like a good deal upfront, but it will likely lead to problems down the line. Invest in high-quality exterior paints from trusted brands for a long-lasting finish.
- Apply Multiple Thin Coats: Thick coats can trap air pockets, leading to blisters. Instead, apply several thin coats, allowing each layer to dry completely before adding another.
- Paint at the Right Time: Even though summer is a great time for exterior painting, avoid painting during the hottest part of the day. Early mornings and late afternoons are ideal for preventing heat-related blisters.
Final Thoughts
Dealing with paint blistering can be a hassle, but by understanding what causes paint to blister and taking the right steps to fix and prevent it, your home will stay looking fresh for years to come. From moisture issues to poor surface preparation, knowing the root causes of bubbling paint can help you avoid costly repairs.
At Four Pillars Paint, we make sure your home’s exterior is prepped and protected for long-lasting results. Serving Upper Saint Clair, Peters Township, and surrounding areas, we’ll guide you through every step, from surface prep to the final coat, ensuring your home is in good hands.
Call us today at 412-844-5002 for a FREE estimate and let’s get started on making your home look its best!